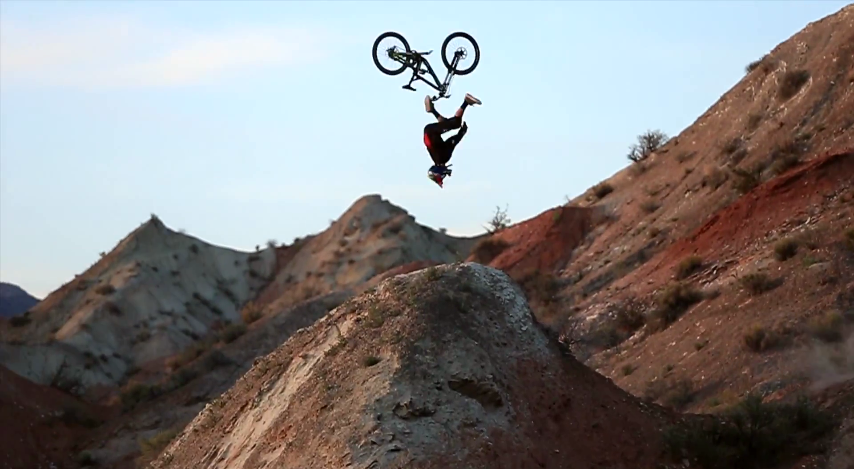
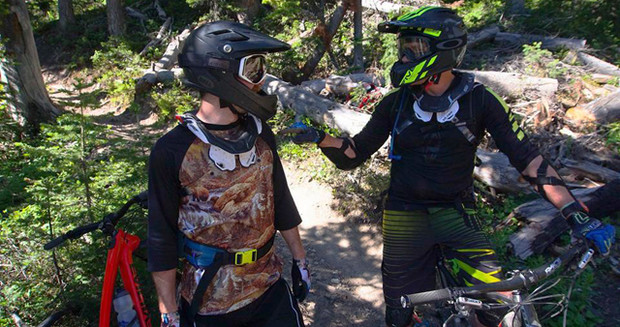
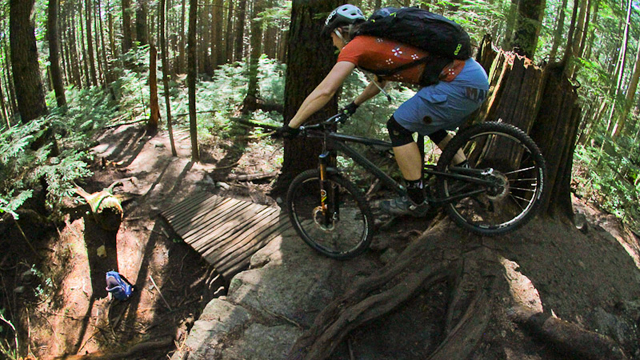
 Thankful for the good standard. Fox photo.
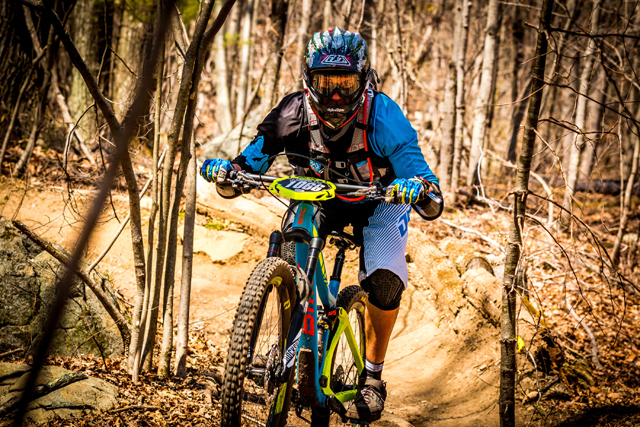
With better lift access, gnarlier trails, ever-more capable mountain bikes and riding styles diversifying; wearing the right protection while seeking bliss on two wheels is more important than ever.
We offer a few suggestions below. Of course only you will know what makes you comfortable. No piece of protection is a guarantee of safety or a license to ride beyond your limits. Cool?
Let’s start with a brief overview:
Helmets
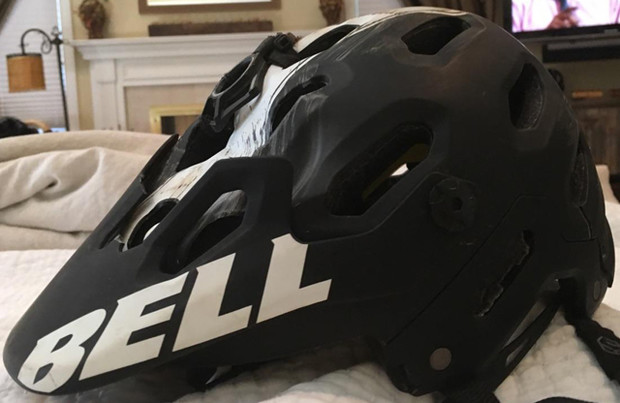 My buddy crashed this year, this is his helmet. He's at home and not dead. Jeff Bassock photo.
A helmet is something you will wear no matter what, at all times. No argument. You’re not rad for going without one, you’re an idiot.
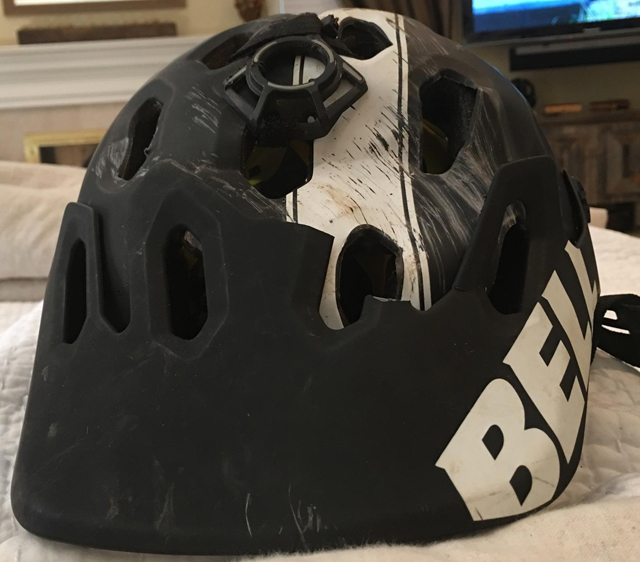 You could say he got his bell rung. Jeff Bassock photo.
You can’t buy an uncertified bike helmet in the USA so most of them are just fine, but there are some variations in certification standards to understand.
CPSC standard: Every bicycle helmet sold in the U.S. must meet the CPSC national standard at a minimum. You might also find ASTM F1447, which is identical to CPSC. ASTM F1952 is a downhill mountain bike racing standard and is, of course, more stringent than F1447. Look for it if you're buying a full-face helmet. You might also see Snell B90-S, this is essentially the same as CPSC (there’s also Snell B95: More stringent than CPSC, but little-used).
Mountain bike helmets come in two flavors: half-shell, which protects the top, sides and back of your head, and full-face, which adds a chin-guard to protect your cheeks, chin, and face. Many companies are now rolling out models with removable chin guards so you don't have to buy two helmets. If you're shopping for one of those, look for the more stringent ASTM F1952 standard.
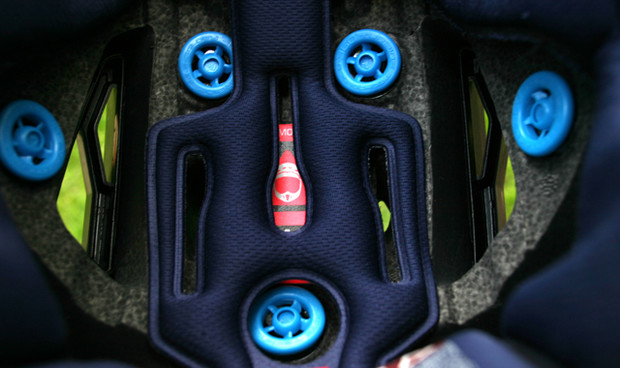
The new thing: Slip-plane technology took off when Bell bought a large chunk of the MIPS patent in 2014. A slip-plane layer sits between a helmet's padding and your scalp. It allows your helmet to move about 5 mm (0.2 inches) sideways during impact, and this movement supposedly reduces rotational energy passed to the head.
 Leatt's Turbine is slip-plane technology. GW photo.
Many other companies have since come out with their own slip-plane technology. There are differing opinions on its effectiveness, with detractors citing how your scalp works just as well as an engineered solution, but until someone proves otherwise, it can’t hurt.
Light knee, elbow and other padding.
 To elbow, or not to elbow, that is the question. Leatt photo.
Padding prevents trauma to the human body by three methods.
1. Shock Absorption: material absorbs impact energy.
2. Shock Delay: material draws the transmission of impact energy to the human body out over a longer period of time.
3, Dissipation: impact forces are dissipated across larger areas.
Whatever combination of methods a piece of padding uses, it’s all about reducing forces applied to you from an impact.
 Just looking to reduce some impact. Roots n Rain photo.
The first thing to understand is "CE" certification categories. All protection products must be certified into one of three CE levels:
Level 1: A piece of gear that is not critical to life or death and you can replace it as you see it wearing out (like gloves).
Level 2: Relevant to most mountain bike and moto gear, this is something that has to protect to a certain standard whenever worn, but is not critical to maintaining your life at all times. Like a spine protector.
Level 3: something that protects your life at all times (scuba tanks or space-craft heat shields).
So, when we talk about certification for MTB safety products, we're usually talking about CE Level 2.
For certifying CE Level 2 products, there are two European standards (commonly used for U.S. products as well) covering protective clothing against mechanical impact: EN1621-1 and EN1621-2.
EN1621-1 covers any body part protection except back and spine. To reach this level of certification a piece of gear is placed on an anvil and then a five kg weight is dropped on it from six feet. The product has to reduce forces generated from this impact to below a certain level (35 KiloNewtons, if you want to know).
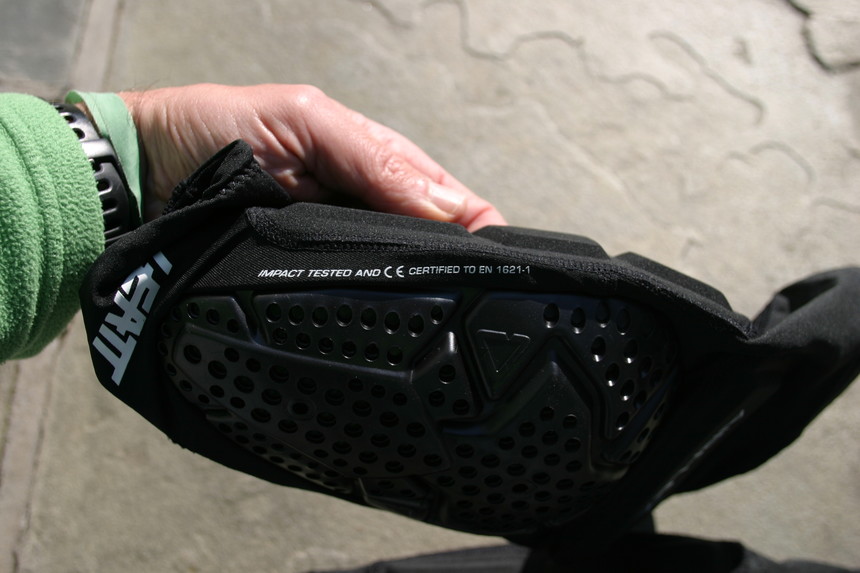 So these Leatt knee pads are a CE product, certified to EN1621-1. GW photo.
You can buy padding that is, or is not, certified. Not being certified doesn’t always mean it's not safe. Also, if it's "certified CE level 1" that still means what you're buying is thought of as optional padding, and not something which needs to hold up whenever called upon.
Elbow, knee, and other CE 1 or 2 padding can come in hardshell, foam, or some flavor of viscoelastic protection.
The new thing: Viscoelastic armor technology are soft, body-forming polymers which quickly become rigid when impacted. Some, like d30 armor, hardens edge-to-edge on impact. Others, like Sas-Tec armor, is progressively reactive, and hardens only to a degree sufficient to counter an applied force. Viscoelastic armor achieve higher levels of shock/impact reducing benefits with more comfort and less bulk than traditional hard armor.
 Light knee pads have been a boon to all-around riding. Yeti photo.
Body armor
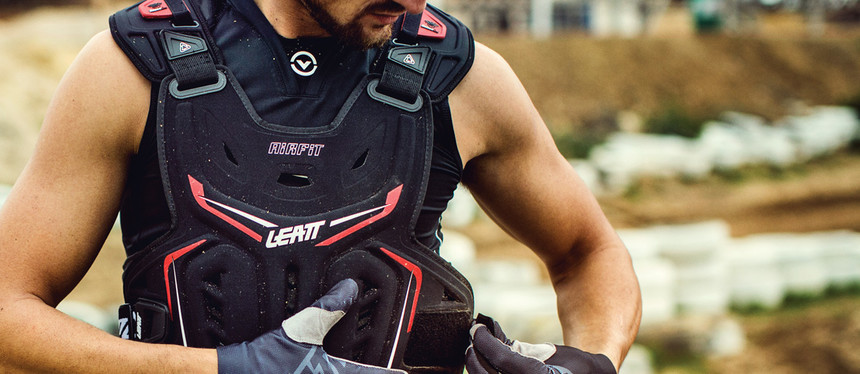 Leatt's 2.5 chest protector, certified to EN14021. Leatt photo.
This generic catch-all term can mean any piece of padding, but is most commonly used for more comprehensive protection solutions and harder plastic shells. Always CE level 2 and usually certified to moto standards, these will include upper body shirts with integrated chest, elbow, spine, and shoulder protection or hard-shell knee and shin guards.
Again, depending on the manufacturer, these can (and mostly should) be certified to the two EN standards mentioned above. If it involves the spine at all, look for EN1621-2 cert (for this, the armor has to reduce the force from the same 5 kilo weight test to less than 18 KiloNewtons).
Lumped into this 'body armor' bucket are also padded undershorts and other accessories you might not wear on a normal trail ride. Often times when we think of 'armor', we think of hard shells, which do a slightly better job of shock dissipation.
Neck braces.
 Ryan and Gunnar, with neck braces. Ryan Dunfee photo.
These are worn only with full-face helmets when getting really rad or racing DH or Enduro.
RELATED: Leatt's 6.5 Carbon Neck Brace
They are designed to stop over-flexion or compression of your neck, and dissipate forces that would wrench the C-1 to C-7 vertebrae and damage the spine.
 Sam Hill tests his neck brace. He walked away from this just fine. Leatt photo.
Forces from a fall or collision that directly or obliquely impact the head, and would twist the neck, are transferred to the torso via the brace. It's not padding, a neck brace is all about stability and energy transfer.
Eyewear
 Three pros, just messing around. ALL have eyewear. GW photo
This is one I feel a little embarrassed about because I often ignore it. BUT, the right advice is to wear eye protection at all times. Clear lenses if you’re in the woods, or it's cloudy. Goggles if you’re wearing a full face helmet. Some folks like to rock goggles with a half-shell.
Know that any cheap pair of sunglasses from the drug store often aren't tested for impact or UV reduction, so a bit of money here can get you a lot.
What to wear and when

Again, there is no hard and fast rule, other than your own comfort and safety. You need to understand and own this decision tree. Here's a brief chart we put together as a starting point.
On the left is a vertical scale of the amount of protection you might wear. At the bottom is helmet only (we’ll assume you won’t be naked below that), at the top is full armor (Stormtrooper) including hard shell protection for spine, chest, elbows, knees, shins, shoulders, a full-face helmet and neck brace.
At the bottom from left to right is a scale of terrain. All the way at the left is a gravel road. All the way to the right is a full-on DH race course at a lift-accessed area—this is Aaron Gwin at a World Cup race or a gnarly alpine descent.
The red line represents standard intersections of those two vertices. From level one to four, outlined below. As the terrain gets harder, your padding will proportionally increase.
It's better in the long run to go for a ride or two and decide you need less, than to injure yourself and be out for four weeks. Or 12.
The green dotted lines represent how those standard intersections might vary depending on the skill of the rider.
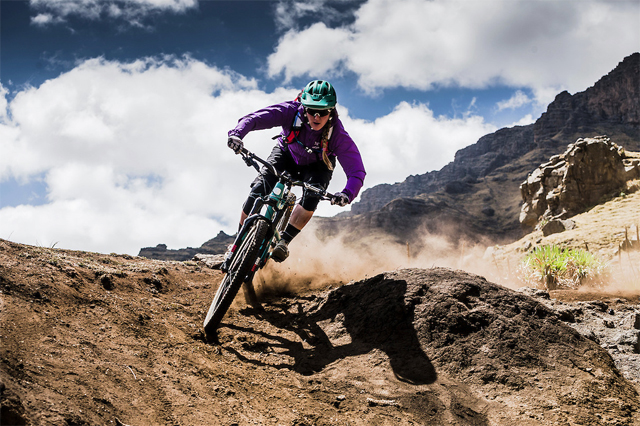
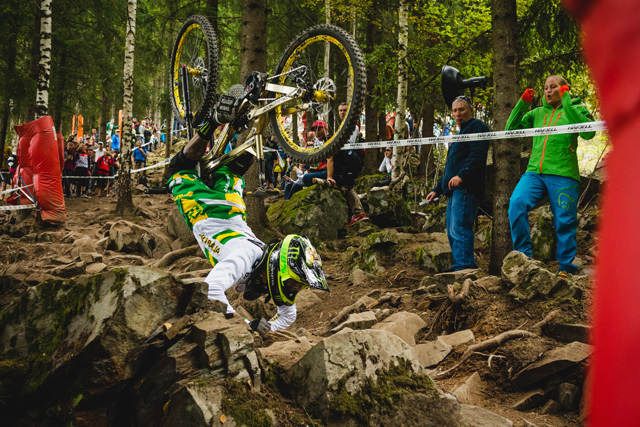
 Riding on the top right of the scale. Red Bull photo.
Level 1: is just riding along a single track trail. It’s not a gravel road, it has some features but is not incredibly dangerous.
You’d need a helmet, shirt, shorts, gloves, and perhaps some piece of soft protection to cover something you tend to injure or bump based on local terrain or how you ride.
Level 2: This is where trails have a couple ‘oh shit' features. You would wear light knee and elbow pads here.
If you wear a pack, maybe you take a bit of care packing it so no hard stuff like a shock pump is close to your spine. I have a few buddies that like to wear harder knee stuff here, just to be safe. If you tend to bump your hips, maybe some padded shorts.
 Padding is for those unexpected surprises. Ryan Dunfee photo.
Level 3: This is a trail you personally would consider hard or challenging riding. Maybe light lift access without racing. Maybe a ride that’s a little longer or more epic than your average weekend beer burner. A trip out West, to Europe, Canada, or somewhere new.
On top of the knee and elbow protection, this is where you might consider adding some light chest protection in your base layer. You’d consider a pack with some integrated spine protection. This is where even the more advanced riders, who might have stayed with just a helmet or light knee protection before, start to throw on some other stuff.
Level 4: This is Enduro or DH race or just lift-access riding where you’re on a long travel bike and getting after it. Wear everything you have. Hard shell knee/shin guards, full face helmet, neck brace, spine protector, goggles, elbow pads, and chest/shoulder pads if you have an integrated shirt.
The Bottom Line
 If you value it, cover it. Bicycling photo.
It's better in the long run to go for a ride or two and decide you need less, than to injure yourself and be out for four weeks. Or twelve. Or forever. In the case of my buddy who endo'd off a jump into a rock garden—he's out for a bit from a concussion, a broken rib, and a few non-displaced lumbar vertebra fractures but he'll be fine because he was being smart about wearing appropriate armor for the terrain and his own level of rad.
If you mountain bike, eventually you will come off your bike. It could be a slow, stupid crash, or it could be a fast, epic one. It's just the nature of our sport. Being aware of how you ride, how you tend to take falls, and what the appropriate padding is for any given situation will allow you to get back on that bike and keep going. Which is what we all want.
About The Author
stash member Gunnar Waldman
Editor-at-Large, IMBA instructor and east-coaster. Raced Trans-Savoie in France, SoCal Enduro and Endurance in Temecula and is psyched for all the great new races in the east. Article Ideas: gunnar.waldman@tetongravity.com
JohnBoy
October 12th, 2016
That is the worst helmet dent I’ve ever seen.